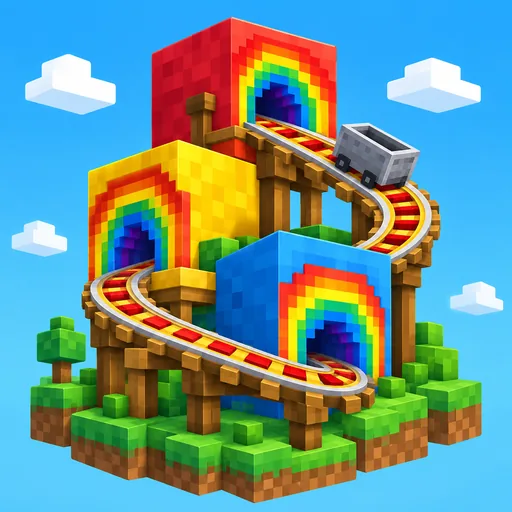
Build one short tunnel section first
Start with a tested rail line, choose a repeatable sequence of available colors, and build a small tunnel sample around that section. Check it from the cart and from outside before repeating the pattern along a longer route.
Give the tunnel a color pattern you can recognize and an entrance that is easy to spot from the cart. Keep the track visible enough to inspect as you add the walls.
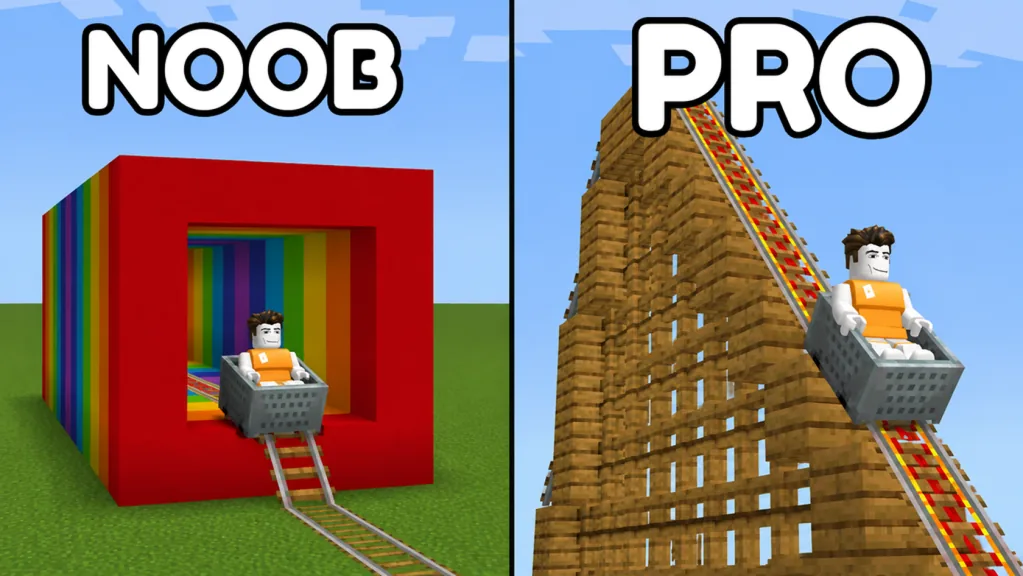
Borrow a pattern from the picture and adapt it to your own route. Check the fit in game rather than treating the image as a fixed blueprint with measured clearance.
Keep the rail line as your reference
Test the section before building walls around it. Inspect its connections and keep a saved version you recognize. If the ride changes during the decoration pass, that reference helps you decide which addition to inspect first.
Use a short straight section for the first sample. Working around a corner adds another layout question before you have settled the tunnel’s appearance. You can develop a curved tunnel later as a separate experiment.
Leave the entrance and exit easy to reach while placing blocks. Avoid surrounding the entire line before checking the first section from the rider’s view.
Choose a pattern you can repeat
Inspect BUILDING in BLOCKS and choose from the materials and colors currently available to you. Arrange a small sample before committing to a large structure.
| Pattern choice | What to compare in the sample | Useful design goal |
|---|---|---|
| Bands across the tunnel | Order of colors along the ride | A clear sequence from entrance to exit |
| Repeating side colors | Whether both sides match your plan | A consistent rhythm beside the rail |
| A distinct entrance color | How the opening looks from the approach | A recognizable start to the tunnel |
| A repeated roof pattern | Whether it is readable from inside | A theme that continues overhead |
Choose an appearance from the table, then find the blocks for it in your catalog. Finish a small sample of one pattern before mixing several ideas.
Inspect the sample from the cart
Ride the tested section after adding the first walls or roof pieces. Compare the current view with the undecorated baseline.
From the cart, check whether you can spot the entrance and follow the route. Notice where the view starts to feel crowded, then inspect that spot from outside.
Adjust one part of the sample and test again. For example, revise the entrance before changing the roof and both walls at once. Ride through your own layout to check the gap and height after each edit. Check the result in game instead of relying on a gap or height guessed from the image.
If the ride develops a fault, stop the decoration pass and use the track troubleshooting guide to locate its first unexpected point.
Extend the successful pattern in small passes
Once the sample looks right and the ride meets your goal, repeat the same sequence along the next short section. Check the colors and shape against the original sample before continuing.
Inspect the exit as carefully as the entrance. A consistent tunnel can still look unfinished if its final section has an accidental color change or an unclear opening.
Save at useful checkpoints and inspect the chosen card. Keep the next design task separate: add an outside landmark, extend the route, or revise a roof pattern in its own pass. The decoration guide helps plan those surrounding details.
FAQ
What should I build before the tunnel?
Build and test a short rail section. Keep that route as your reference while adding the first tunnel sample.
Which colors should I choose?
Choose a repeatable sequence from the colors available in your current BUILDING catalog. Test a small sample before expanding it.
What tunnel height guarantees a clear ride?
Test the opening with your own cart and layout. Check its fit in game; the picture gives you no exact clearance to copy.
Should I build the entire tunnel before testing?
Start with one short section and inspect it from the rider’s view. Repeat the pattern after that sample meets your goal.